
If there is one pattern that deserves a permanent spot in every euro nymphing box, it’s Lance Egan’s Frenchie. A modern, competition-proven take on the classic Pheasant Tail Nymph, the Frenchie is famous for its simplicity, speed of tying, and—most importantly—its incredible effectiveness on the water.
This isn’t just another nymph; it’s a high-confidence pattern designed to get deep fast and trigger strikes when fish are pressured.
In this tutorial, we focus on the key aspects that make Egan’s version so deadly: maintaining an incredibly clean, thin profile for maximum sink rate and using a distinct hot spot collar to grab a trout’s attention.

Watch the Video Tutorial for Egan’s Frenchie
Prefer to follow along via video? Watch the full tying tutorial below.
Don’t Have Time to Tie Egan’s Frenchie?
If you need to stock your box quickly before the weekend trip, you can purchase hand-tied, ready-to-fish Egan’s Frenchies directly from the Trout Strike Fly Shop.

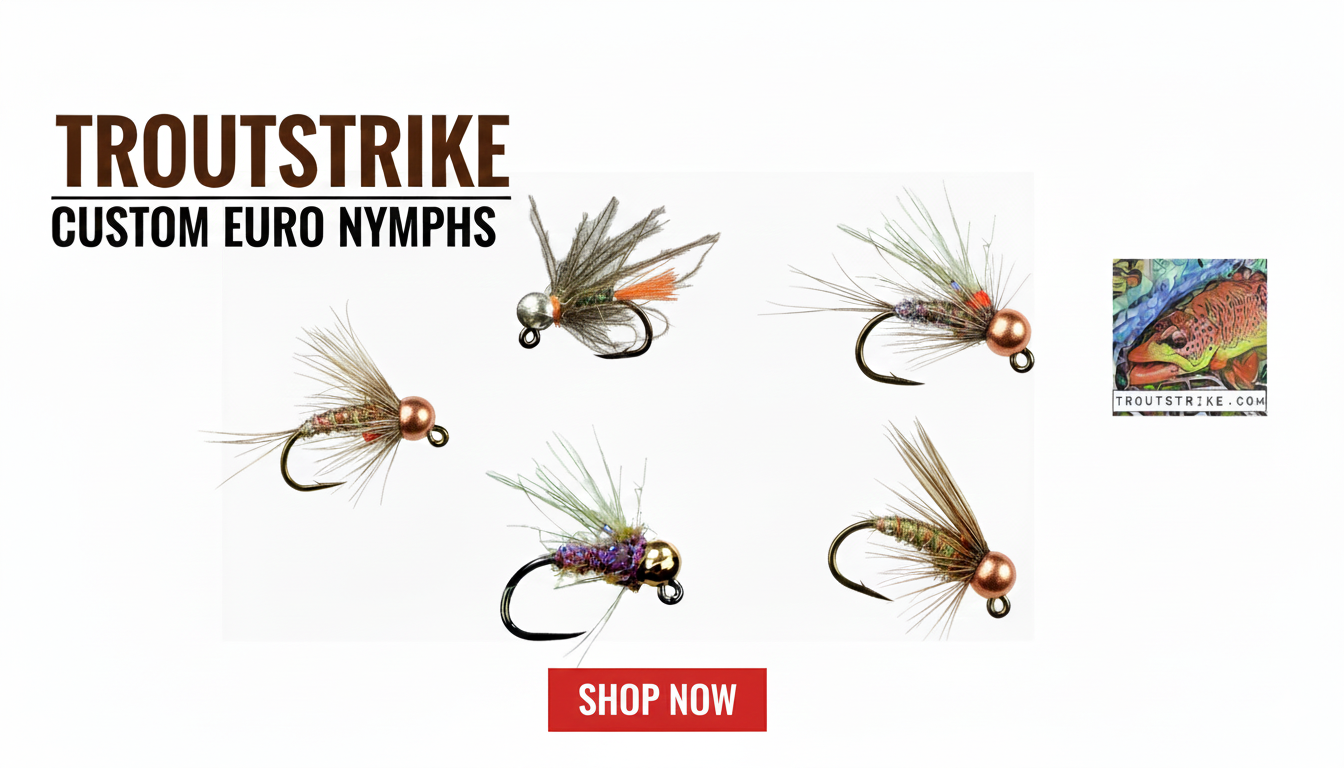
Egan’s Frenchie
Egan’s Frenchie is a proven Euro nymph pattern, quick to tie and highly effective. Its slim profile, subtle tail movement, and vibrant hotspot make it perfect as a point fly or a dropper in tandem rigs, catching trout in a variety of waters and conditions.
Why the Egan’s Frenchie Works
Before we hit the vise, it helps to understand why this fly is so productive.
- The Jig Hook & Bead: By using a slotted tungsten bead on a jig hook, the fly rides “hook point up.” This significantly reduces snags on the bottom, allowing you to drift in the strike zone longer.
- The Thin Profile: Unlike bulkier nymphs, the sparse pheasant tail body offers very little water resistance. This allows the fly to cut through the column and reach the bottom quickly.
- The Hot Spot: The contrasting dubbing loop (usually pink or orange) acts as a trigger point that fish often key in on during the drift.
Egan’s Frenchie Materials Checklist
| Component | Detail | Notes |
| Hook | Jig Style Hook | Essential for a weighted, snag-free balanced drift. |
| Bead | Slotted Tungsten Bead | Tungsten is crucial for getting the fly deep quickly. |
| Thread | Uni Thread 6/0 Red | Used for the collar/hot spot base. |
| Tail & Body | Pheasant Tail Fibers | Natural color is standard. |
| Ribbing | Copper Wire | Brassy or thin copper for a sleek look and durability. |
| Thorax/Hot Spot | Hareline Ice Dub (Shrimp Pink) | Creates the essential, contrasting trigger point. |
| Finish | UV Resin | Applied to the thread collar for durability and shine. |
Step-by-Step Tying Instructions: Egan’s Frenchie
Follow these steps to create your own durable, effective Frenchies.
Step 1: Establish the Base and Tail
Begin by sliding the slotted tungsten bead onto your jig hook—small hole first so it sits snugly against the hook eye—and secure it in your vise.
Start your 6/0 Red Uni Thread just behind the bead. Using a red thread throughout the process is efficient, as it will serve as the basis for your hot spot later. Wrap your thread back to the bend of the hook.
Select three sturdy Pheasant Tail fibers. Measure them against the hook shank; the tail should be slightly longer than the hook bend. Secure them with a few tight thread wraps right at the bend.
Pro-Tip for a Thinner Profile: Do not trim the excess pheasant tail butt ends yet. We will use these same fibers to wrap the body. Tying in the tail and preparing the body fibers in one sequence keeps the underbody super thin—key to a fast-sinking nymph.

Step 2: Tie in the Wire Ribbing
Take a length of thin Copper Wire. Secure it with a single thread wrap just behind the bead on the side of the hook facing you.
Bind the wire and the remaining pheasant tail butt ends down the hook shank, wrapping your thread backward until you reach the base of the tail. Hang your bobbin here to maintain tension.

Step 3: Create the Pheasant Tail Body
Gently take the three Pheasant Tail fibers you left attached and begin wrapping them forward. Make tight, delicate, overlapping turns.
Ensure you are creating a smooth, uniform, and super-thin body profile as you wrap toward the bead.
Once you reach the bead, lock the pheasant tail fibers in place with your thread: two tight wraps behind the material, followed by two wraps in front of it. Trim the excess fibers closely.
Tip: Hang your thread so it rests in the slot on top of the tungsten bead. This keeps it secure and out of the way for the ribbing step.

Step 4 Counter-Wrap the Ribbing
Take your copper wire and begin counter-wrapping it forward over the pheasant tail body (wrap in the opposite direction that you wrapped the pheasant tail).
Counter-wrapping is crucial. It crosses over the pheasant tail fibers, reinforcing them and preventing the fly from unraveling after a few fish. Make even, spaced wraps up the body to create nice segmentation.
Secure the wire behind the bead with thread wraps. Use the “helicopter method” (spinning the wire until it breaks) to get a clean break with no sharp tag end.

Step 5: Add the Hot Spot Thorax
Now for the trigger. Take a very small pinch of Hairline Ice Dub in Shrimp Pink. Less is more here; we want a compact hot spot, not a bulky thorax.
Create a tiny, tight dubbing noodle on your red thread. Wrap this tightly right behind the bead to form a distinct collar.

Step 6: Finish and Cure
Once the dubbing is wrapped, complete the fly with a couple of whip finishes using the red thread. Trim the thread.
For the final touch that adds durability and pop, take your bodkin and apply a small drop of thin UV Resin to the exposed red thread whip finish directly behind the bead. Hit it with your UV light to instantly cure it.
This step makes the red collar shine and ensures the thread won’t unravel when bouncing off rocks.


Time to Hit the Water
Your Egan’s Frenchie is complete. The combination of the slim profile, the flash of the wire rib, and that indispensable pink hot spot makes this an absolute fish-catcher year-round.
Tie up a dozen in various sizes (running from #12 down to #18) and get them in the water!
Have you fished the Frenchie? What is your favorite hot spot color variant? Let me know in the comments below!
Don’t forget, if you need these flies fast, you can stock up right here:
Egan’s Frenchie
Egan’s Frenchie is a proven Euro nymph pattern, quick to tie and highly effective. Its slim profile, subtle tail movement, and vibrant hotspot make it perfect as a point fly or a dropper in tandem rigs, catching trout in a variety of waters and conditions.