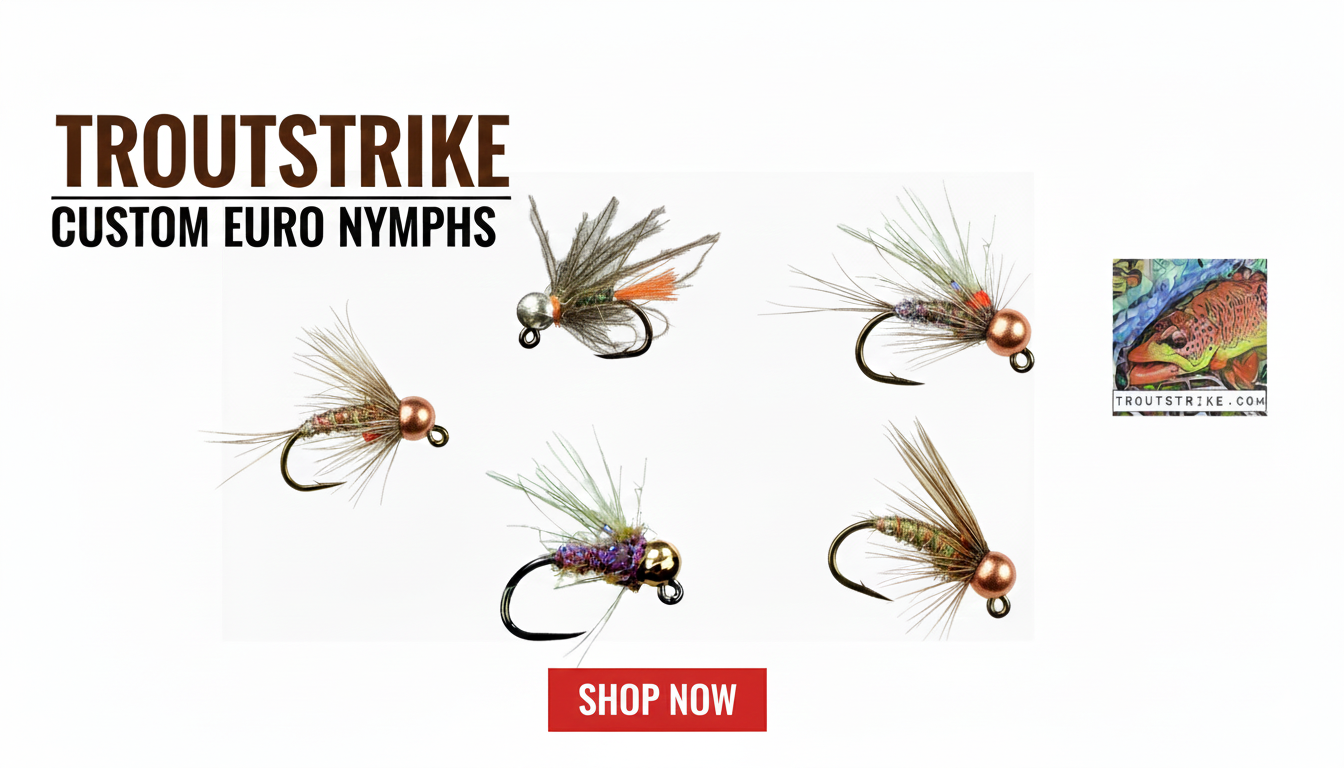
The Lightning Bug nymph has been a staple in fly fishing for years, known for its flashy appearance and ability to attract trout in various water conditions. This nymph pattern originated in the Pacific Northwest in the early 1990s, created by fly tier Larry Graham. The original design was intended to imitate a wide range of aquatic insects, making it an excellent prospecting fly. The Lightning Bug quickly gained popularity for its versatility and effectiveness across different trout streams.

In its original form, the Lightning Bug is tied with a tinsel body, pheasant tail fibers for the tail and legs, and a wire ribbing. The combination of flashy materials and a lifelike silhouette makes it an enticing target for trout. While the traditional pattern has been effective for many anglers, I’ve found a way to simplify the tying process without sacrificing the fly’s performance.
Why I Simplified the Lightning Bug Nymph
As I do with many patterns, I tie in as a Euro Style Nymph. One key modification I’ve made to the original Lightning Bug is the removal of the pheasant tail fiber legs. While these fibers add a lifelike appearance to the fly, they can be tedious to tie and sometimes less durable. For a quicker, more robust fly, I omit the pheasant tail legs. Instead, when I want to add the appearance of legs, I use a CDC collar. This not only streamlines the tying process but also adds a bit of natural movement to the fly, enhancing its appeal in the water.

Materials List
Materials List
Hook: Hanak 400 Jig: https://amzn.to/3MKktGR
Bead: Fulling Mill Tungsen Slotted: https://amzn.to/3MKktGR
Tail: Pheasant Tail Fibers: https://amzn.to/3B4PbIi
Body: Semperfli Holo Tinsel: https://amzn.to/3MMcwRs
Thorax: Peacock Herl: https://amzn.to/4d1dOTu
Wing Case: Opal Tinsel https://amzn.to/3XHConP
UV Coating: Loon Flow: https://amzn.to/47qhw82
Tying Tools: Loon Brand: https://amzn.to/47qhw82
Tying the Simplified Lightning Bug
- Prepare the Hook: Start by placing a Hanak 400 BL jig hook into the vise, paired with a 3.2 mm tungsten bead. This long-shank hook helps form the narrow body of the fly.
- Thread Base: Use UTC 70 in cream thread to start wrapping from behind the bead to the bend of the hook, keeping the thread flat.
- Tail: Select a few pheasant tail fibers, aligning the tips as best as possible. If you prefer more durability, you can use dark pardo Coq de Leon fibers. Tie in the tail at the bend of the hook.
- Ribbing: Tie in a piece of small copper wire at the bend, then wrap the thread forward to create the base of the fly’s body.
- Body: Attach a piece of Semperfli holo tinsel in gold. This is where you can experiment with colors, using different flashy materials to change the fly’s appearance.
- (Optional) CDC Collar: If you want the fly to have a leg-like appearance, add a CDC collar just behind the bead. This step replaces the traditional pheasant tail legs and adds some natural movement to the fly in the water.
Why This Fly Works
The Lightning Bug nymph is effective because it combines flash and a natural silhouette to attract trout. My simplified version maintains these key characteristics while making the fly easier and faster to tie. By substituting the pheasant tail legs with a CDC collar, you get added movement in the water, which can sometimes entice more strikes from wary fish. I find that CDC is generally more durable than the pheasant tail fibers the original recipe calls for. This fly can also be modified to generate many different looks. Experiment with it to find out what works best in your local river.


Final Thoughts
Whether you’re new to fly tying or looking for a quick, effective pattern to add to your fly box, this simplified version of the Lightning Bug nymph is a great choice. It’s a versatile prospecting fly that works in various water conditions, and with the Euro-style jig hook and tungsten bead, it gets down to where the fish are quickly.
Stay Connected with TroutStrike.com
Follow TroutStrike.com on Instagram and Facebook @troutstrike for daily fly fishing tips, updates, and behind-the-scenes content.
Don’t forget to check out our YouTube channel for fly tying tutorials, nymphing techniques, and more. Subscribe and join the TroutStrike community today!

Jeff Smecker


One thought on “The Simplified Lightning Bug Euro Nymph: A Step-by-Step Guide”